Securely store environment variables with GitHub Codespaces

Developer Advocate @ GitHub
As a developer advocate, I make a lot of demo projects to illustrate my talks or content. Also, as a chaotic person, I don’t do the best job at securely storing my environment variables during my demos. On more than one occasion, I’ve revealed my environment variables during a stream or a conference talk. Fortunately, developer friends like Mayank and Nick introduced me to Cloak, a VS Code extension that hides the values of your environment variables if you accidentally share your screen.
I recently developed a small app that lives on the GitHub domain. Developing the application reminded me of all the struggles I used to have as a software engineer. (I don’t miss the stress of coding on a deadline). One of the struggles I encountered was sharing my environment variables with collaborators. I wanted my teammates to try out the app locally, so they could contribute code or review the user experience, but I wasn’t sure how to tell them to set up their environment variables securely.
Do I share the environment variables in Slack? Nope, that is unsafe.
Do I share the variables in a password manager? Sure, but now some of the values are ill-formatted, i.e., RSA keys.
Additional mishaps I’ve experienced in the past:
I forgot to add my environment files to my .gitignore file, so I accidentally pushed my environment variables files to my repository.
I accidentally deleted my .env file and then had to generate new API tokens and secrets.
I’m sure there are many solutions for securely storing environment variables in sandbox applications, but GitHub Codespaces worked best for me!
Benefits of using GitHub Codespaces for environment variables
The experience was seamless with GitHub Codespaces because it allowed repository collaborators to go to my repository, open the Codespace, and locally run the code. They didn’t have to fill in the values, so I didn’t have to share the secrets explicitly. Behind the scenes, GitHub Codespaces pulled the values from a store within the repository’s settings called Codespaces Secrets.
How to store your secrets in GitHub Codespaces
To illustrate this example, we will use the NASA API because it’s generally accessible to most developers.
Step 1: Generate a NASA API key
Fill out the form on https://api.nasa.gov/ to request an API key. You should receive the API key in your email. (Save this key because we will use it in step 5).
Step 2: Use the React Codespaces template
Quickstart templates include boilerplate code for some of the most common application frameworks, including Next.js, React.js, Django, Express, Ruby on Rails, Preact, Flask, and Jupyter Notebook. Templates provide developers with a sandbox to build, test, and debug applications in a codespace. This means you don’t have to start from scratch with coding. We already have a working project that you can enhance into the project you’re envisioning. You can use templates to understand how developers structure their projects written in various programming languages. And you can use it to understand how different files communicate with each other.
For example, I’ve always wanted to learn more about artificial intelligence and machine learning, but I had no clue where to start. I used a Jupyter Notebooks template to generate AI images. The template already had all the tools I needed; I just had to change a few lines of code.
For this tutorial, we’ll navigate to https://github.com/codespaces/templates and choose the React template.

Step 3: Wait for your Codespace to load
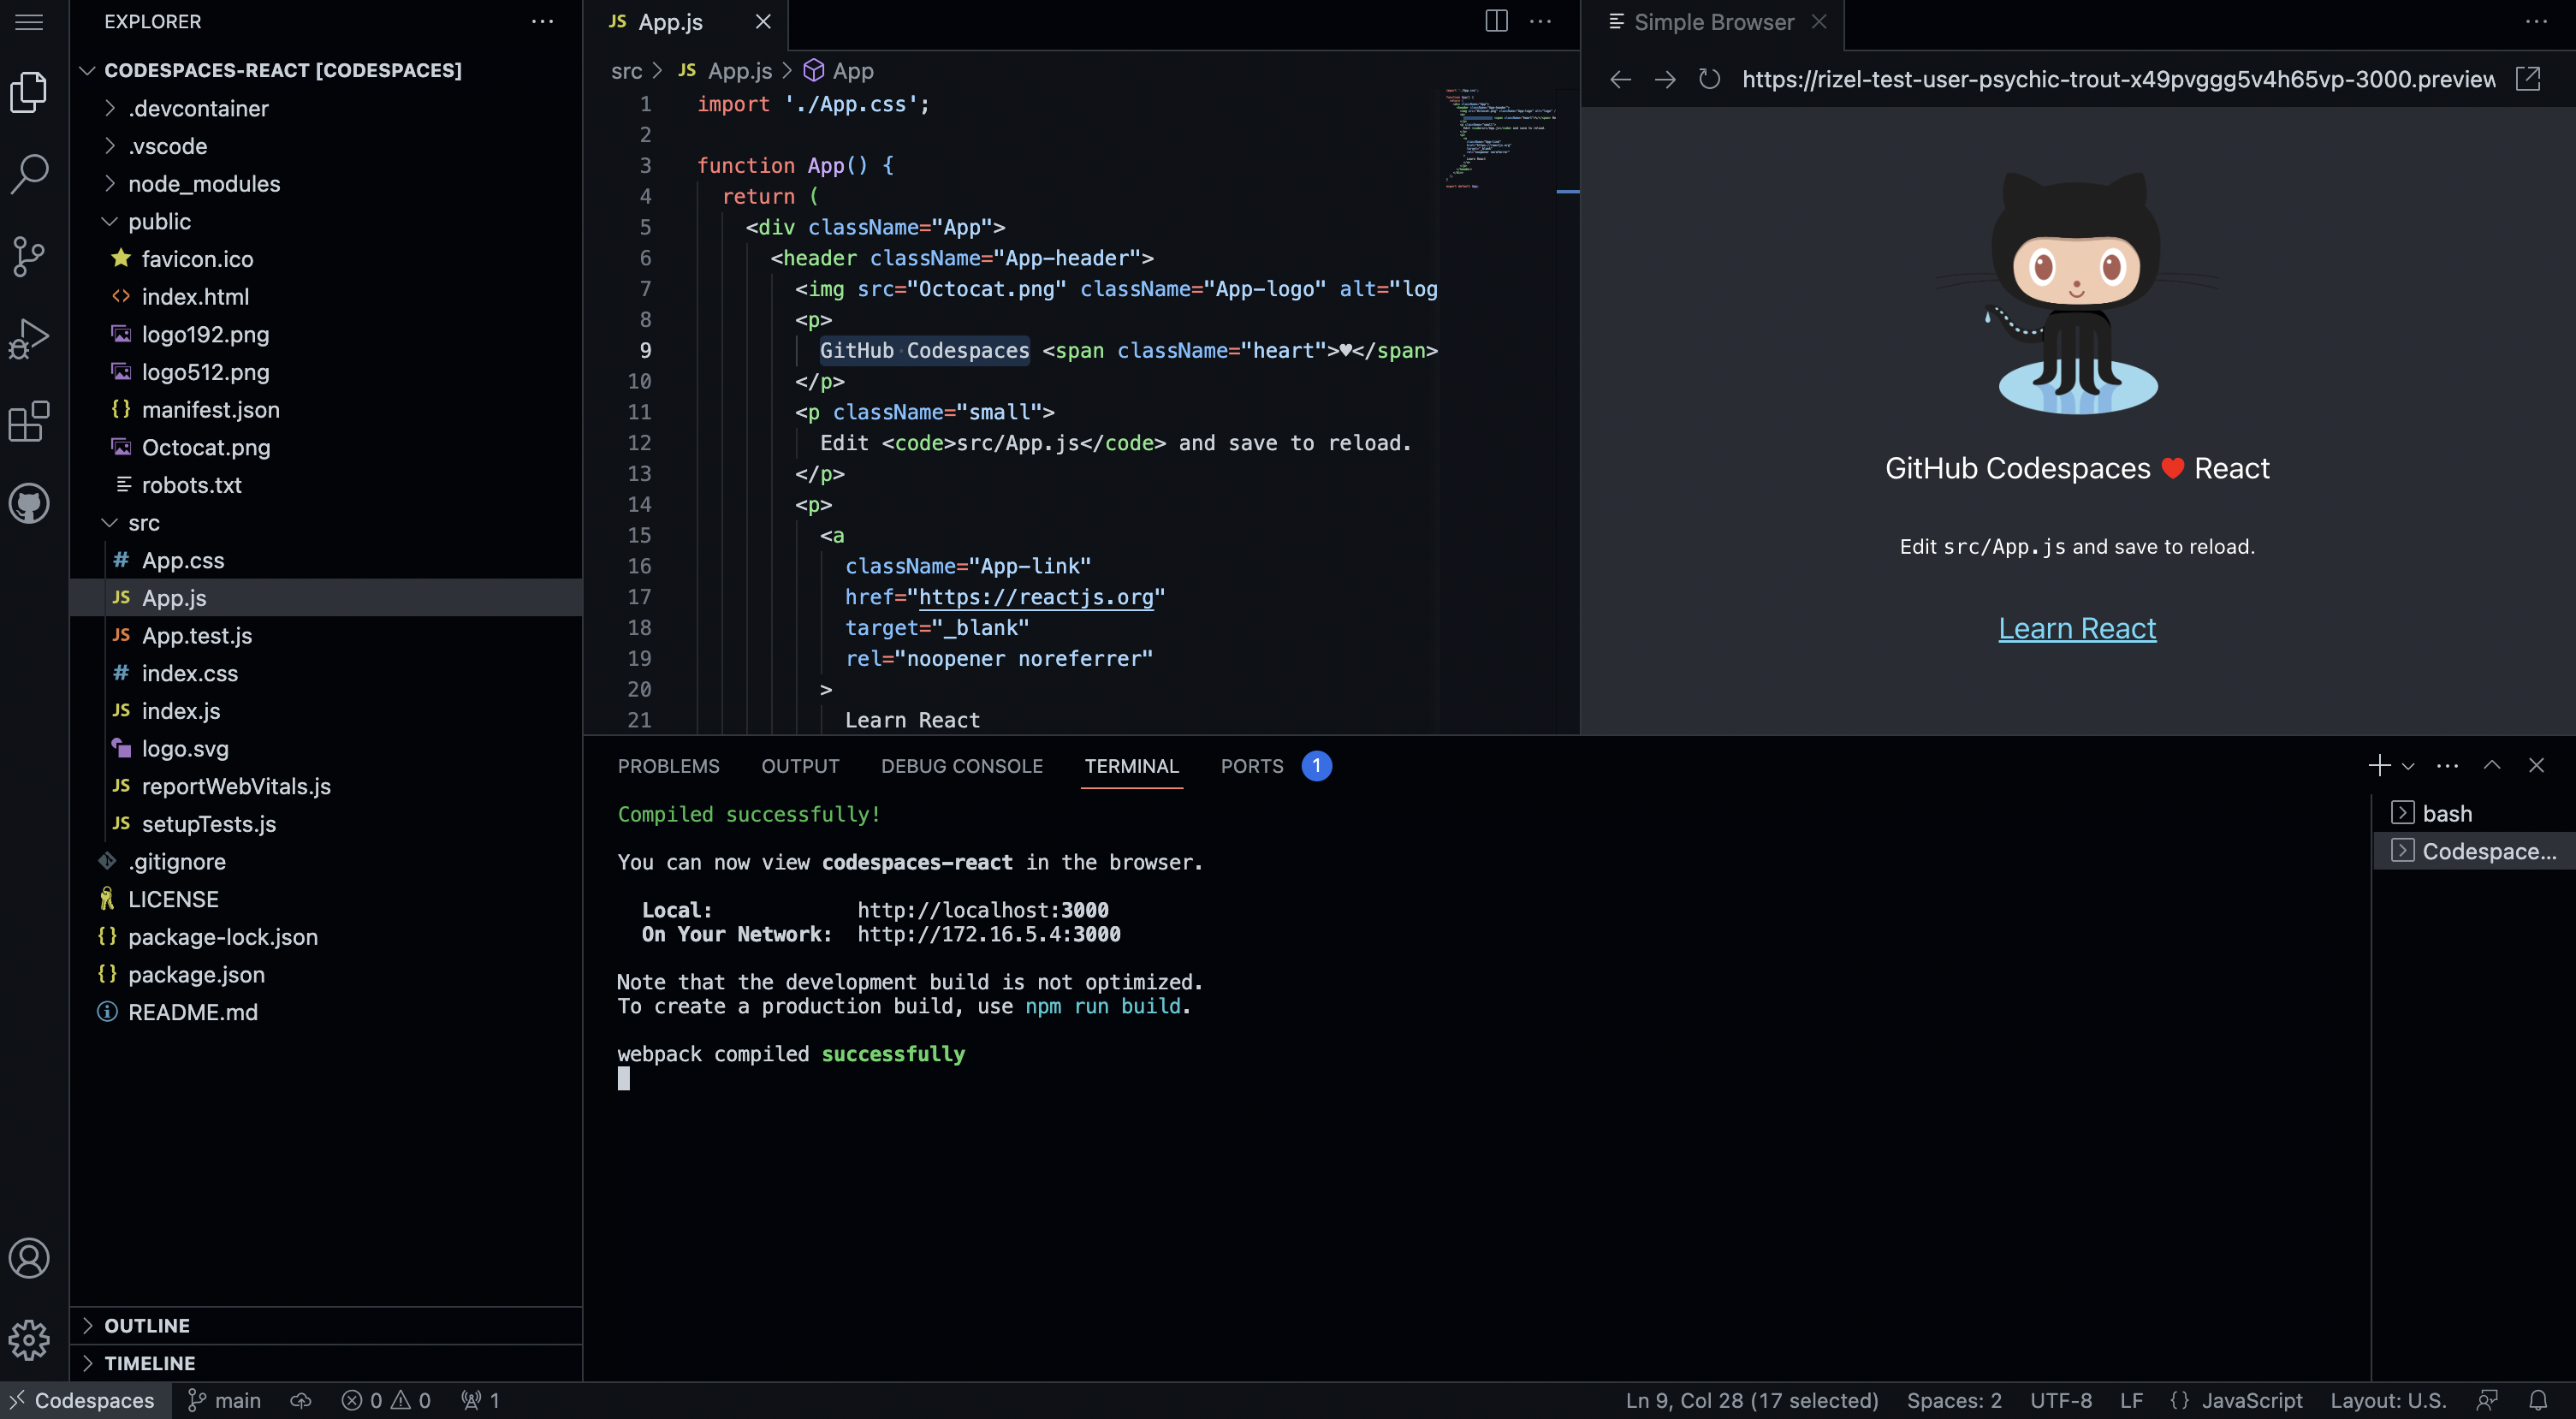
Once our codespace is fully loaded, you will see a live preview of your web app on a tab titled "Simple Browser." (If you don’t see the “Simple Browser” tab yet, give it a few minutes to load). It should look like the image below:
Step 4: Publish your Codespace
We’re not done yet. Our main goal is to store and reference environment variables in a Codespace. However, we can only do this if our Codespace lives in a repository. To do this, we need to publish our Codespace. Take the following steps to publish the current Codespace:
In a new tab, navigate to https://github.com/codespaces. Don’t worry about leaving the tab or window because Codespaces will save your changes.
Scroll down to the bottom of the page, and you will see the Codespace you created. It might have a silly name. GitHub Codespace automatically generates names for each Codespace as a form of identification. My Codespace is named “ubiquitous acorn.”

- Click the three dots on the right-hand side and choose the option “Publish to new repository.”

- Here, you can give your project a more identifiable name, make the project public, and view your repository with the button “See repository.”

- This will lead you to your repository on GitHub. It will show the different files within the project, too. You can share the link to your repository for other developers to collaborate with you or explore your codebase!

Step 5: Store your environment variables
In your new repository, navigate to Settings > Secrets and variables > Codespaces. You can also find the correct page by navigating to a URL that looks like this: https://github.com/REPLACE_WITH_GITHUB_OWNER/REPLACE_WITH_GITHUB_REPO/settings/secrets/codespaces
The page you land on should look like the image below:

Let’s create two repository secrets:
REACT_APP_NASA_ENDPOINT=https://api.nasa.gov/REACT_APP_NASA_API_KEY= This is where you will add your NASA API key
Now, we can refer to these variables in our codebase using the convention: process.env.{ENVIRONMENT_VARIABLE_NAME}
Step 6: Reload your Codespace
Once you add the new API keys, your Codespace should “automagically” recognize that you added new secrets to your Codespace. If so, a notification will pop up in your Codespace that says, “Your codespace secrets have changed. Reload to apply.”
Press the “Reload to apply” button for the changes to take effect.

Step 7: Install axios
Axios is the npm package we’ll use to make calls to the NASA API. Run this command in your Codespace’s terminal to install axios:
npm install --save axios
Step 8: Create a new file
(I used Wayne Fornworth’s blog post on Medium for this step. I’ve used the NASA API in the past, but I felt a little lazy while building this out. Thank you, Wayne, for your blog post! )
Create a file in your src directory called, HttpClient.js then add the following lines of code to that file:
(Note: Lines 2 and 3 refer to the secrets we created by using process.env.{ENVIRONMENT_VARIABLE_NAME} )
import axios from "axios"

const nasaEndpoint = process.env.REACT_APP_NASA_ENDPOINT
const nasaApiKey = process.env.REACT_APP_NASA_API_KEY

axios.interceptors.request.use(
  config => {
    config.params = config.params ? config.params : {}
    const configUrl = config.url
    if (configUrl.includes(nasaEndpoint)) {
      config.params["api_key"] = nasaApiKey
    }

    return config
  },
  error => {
    return Promise.reject(error)
  }
)

export default {
  getApod() {
    return axios.get(`${nasaEndpoint}planetary/apod`)
  },
}
Step 9: Update your App.js file
Delete the current contents of your src/App.js file and replace it with the following lines of code:
import React, { useState, useEffect } from "react"
import HttpClient from "./HttpClient"

const App = () => {
  const [apod, setApod] = useState({})

  useEffect(() => {
    HttpClient.getApod().then(apodData => {
      setApod(apodData.data)
    })
  }, [])

  return (
    <div style={{ maxWidth: 900, padding: 30 }}>
      <h1>NASA API</h1>
      <h2>Astronomy Picture of the Day</h2>
      {apod && (
        <article>
          <header>
            {apod.title} - <i>{apod.date}</i>
          </header>
          <img src={apod.url} alt="APOD" width="800" height="auto" />
          <p>{apod.explanation}</p>
          <pre
            style={{
              overflowX: "auto",
              whiteSpace: "pre-wrap",
              wordWrap: "break-word",
            }}
          >
            <hr />
            {JSON.stringify(apod, null, 2)}
          </pre>
        </article>
      )}
    </div>
  )
}

export default App
Step 10: Check out your creation
If successful, your simple browser tab should render an image similar to the one below:

Step 11: Make it accessible to others!
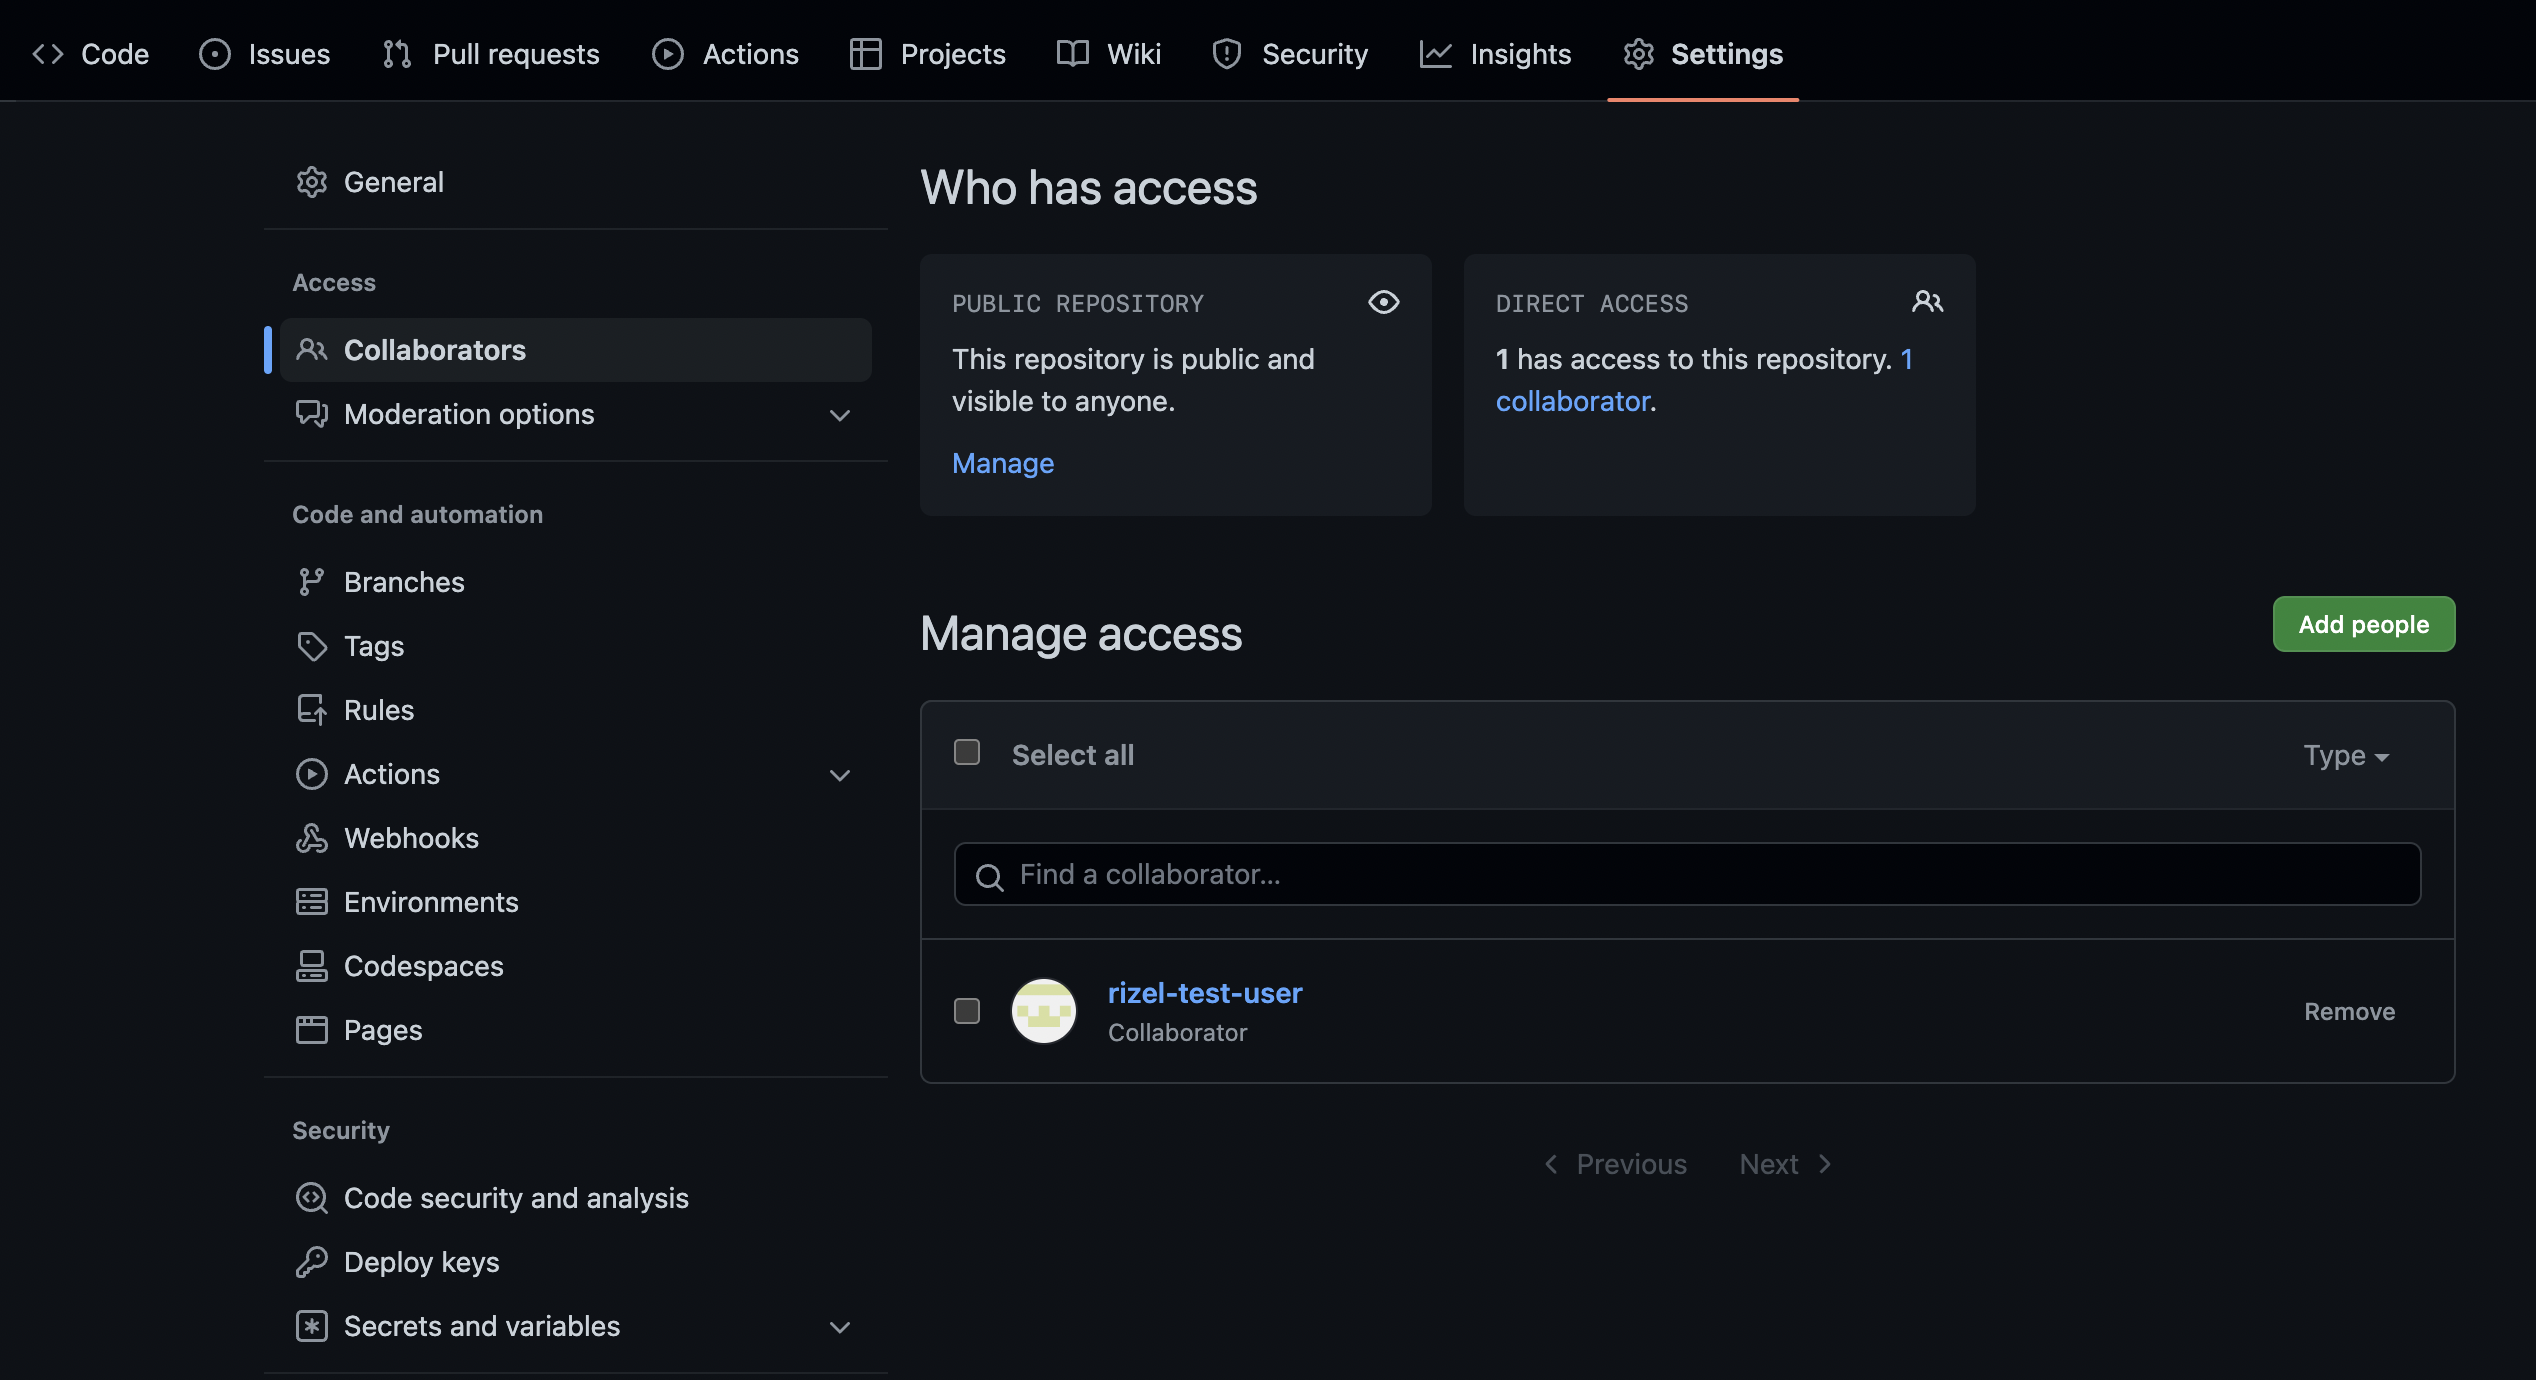
Anyone can open your Codespace, but the environment variables will not work for everyone. For folks to see the same results (as in, for the API call to work), you’ll need to add the users as repository collaborators. If they are not repository collaborators, they will say page with a broken image instead. Check out the GitHub documentation to learn how to add collaborators to your repository.
Things to remember
This is an API call for the NASA Astronomy Picture of the Day, so the image may vary depending on the day that you make this API call. The picture in the image above is for the date .
Now, if someone with repository collaborator access opens your repository in a Codespace, they can get the same results without filling in environment variables because you already stored the correct values in your repository’s Codespaces secrets.
Take a look at my repository to double check your code. Please remember that if you open this repository in a Codespace, you will see a broken web page because you’re not a collaborator of the repository.
This method works best for local development within a Codespace. If you deploy the code to another environment, you’ll need to define the environment variables using the suggested method of your server provider.
You can use secrets in a codespace after the codespace is built and running. For example, a secret can be used:
When launching an application from the integrated terminal or ssh session.
Within a dev container lifecycle script that is run after the codespace is running. For more information about dev container lifecycle scripts, see the documentation on the Development Containers website: Specification.
Codespace secrets cannot be used:
During codespace build time (that is, within a Dockerfile or custom entry point).
Within a dev container feature. For more information, see the features property in the dev containers specification on the Development Containers website.
Hope this helps! If you liked this post, follow GitHub and me for more content!